ARDUINO GAME CONSOLE
Interactive Game Design, 2023.
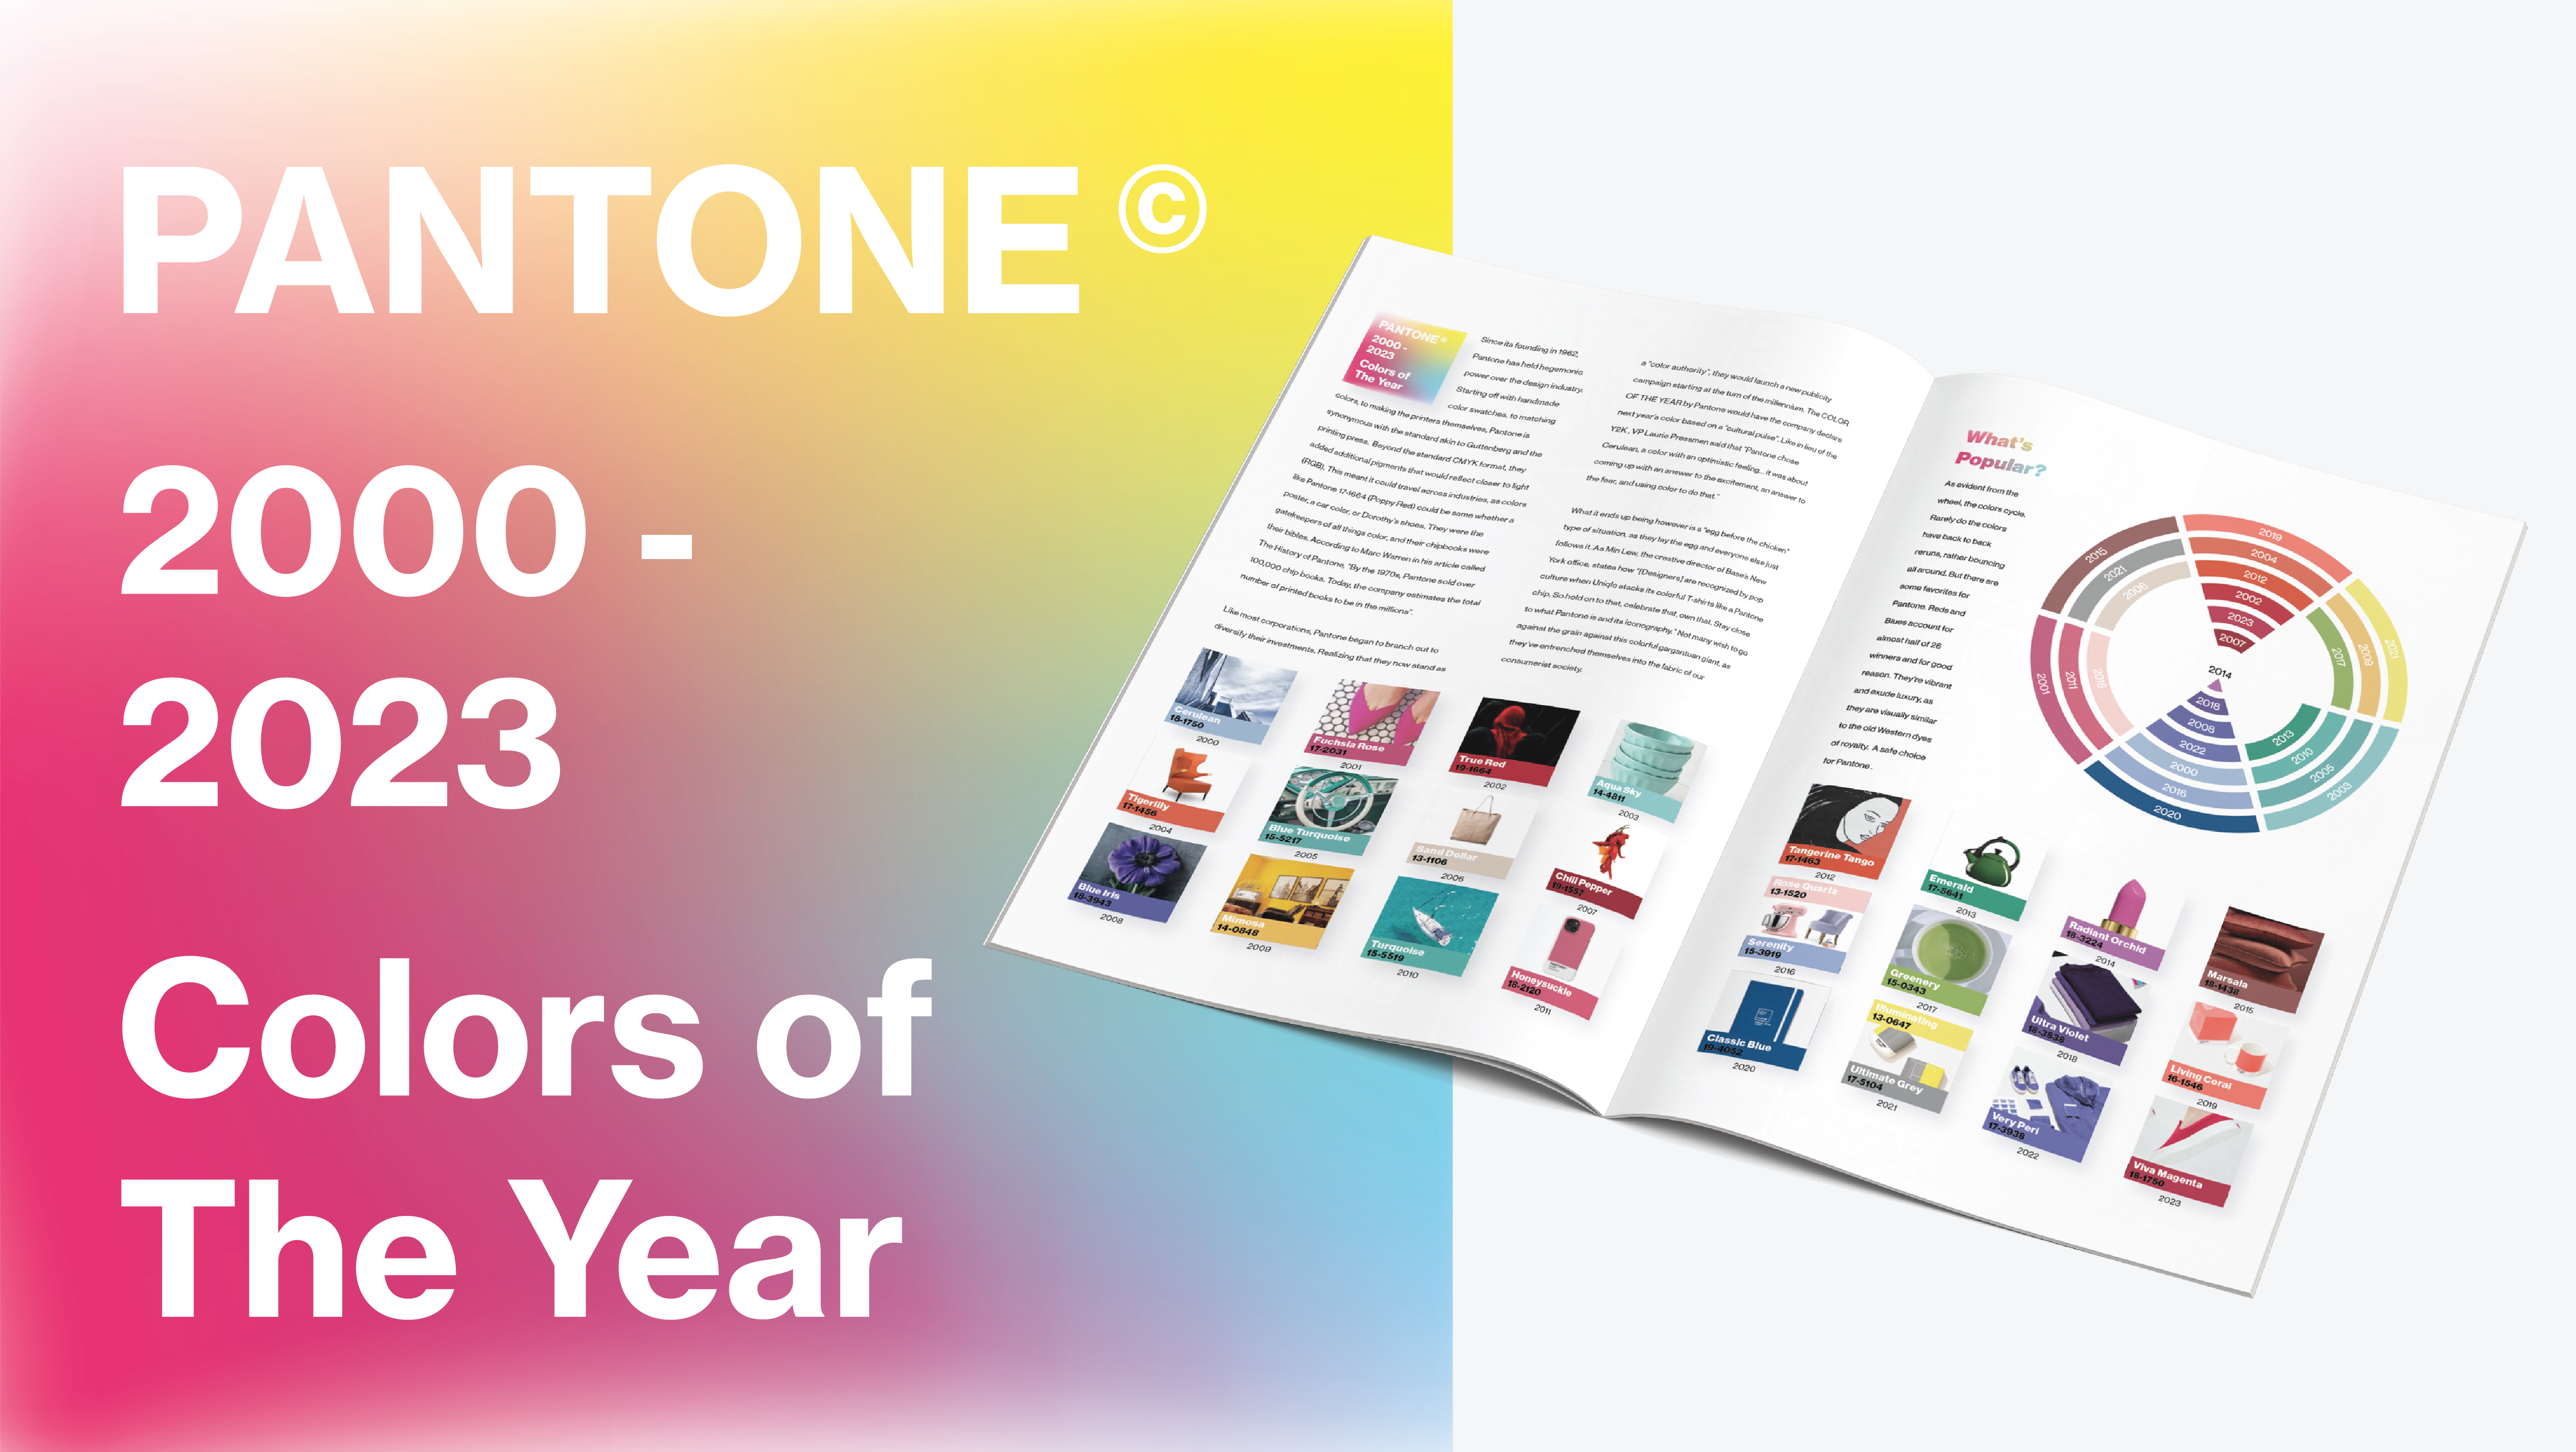
Front
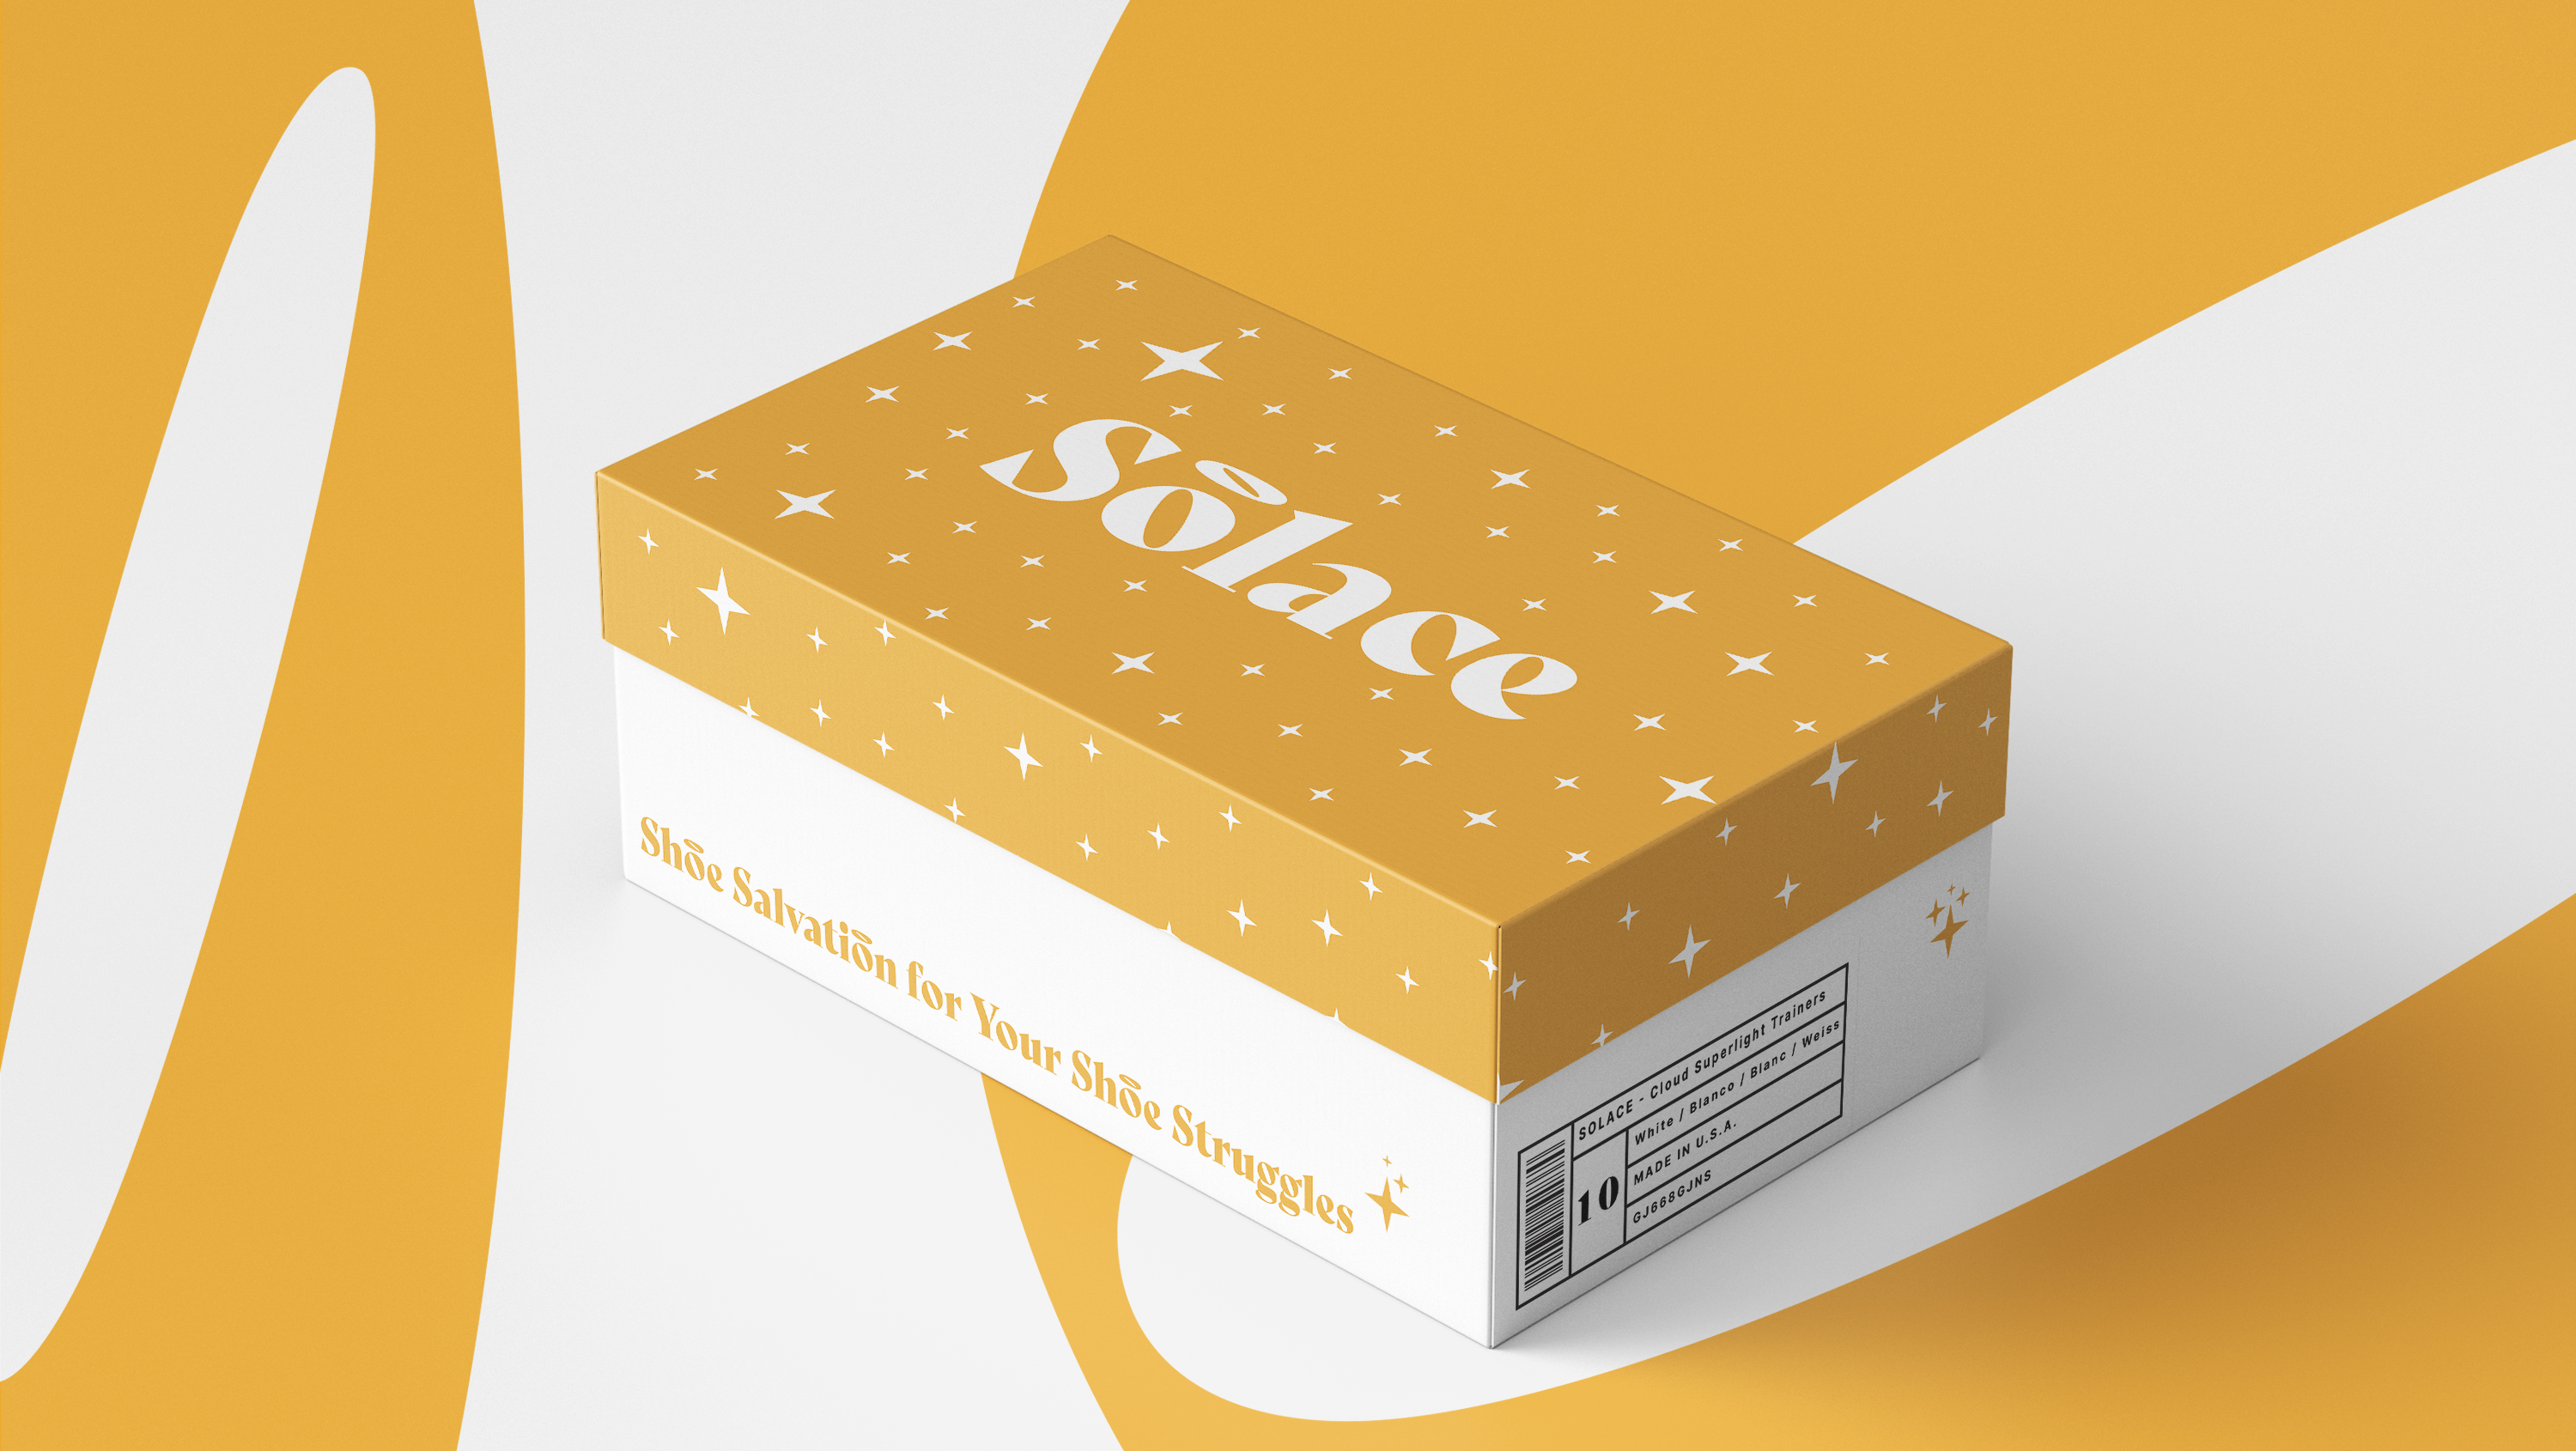
Back
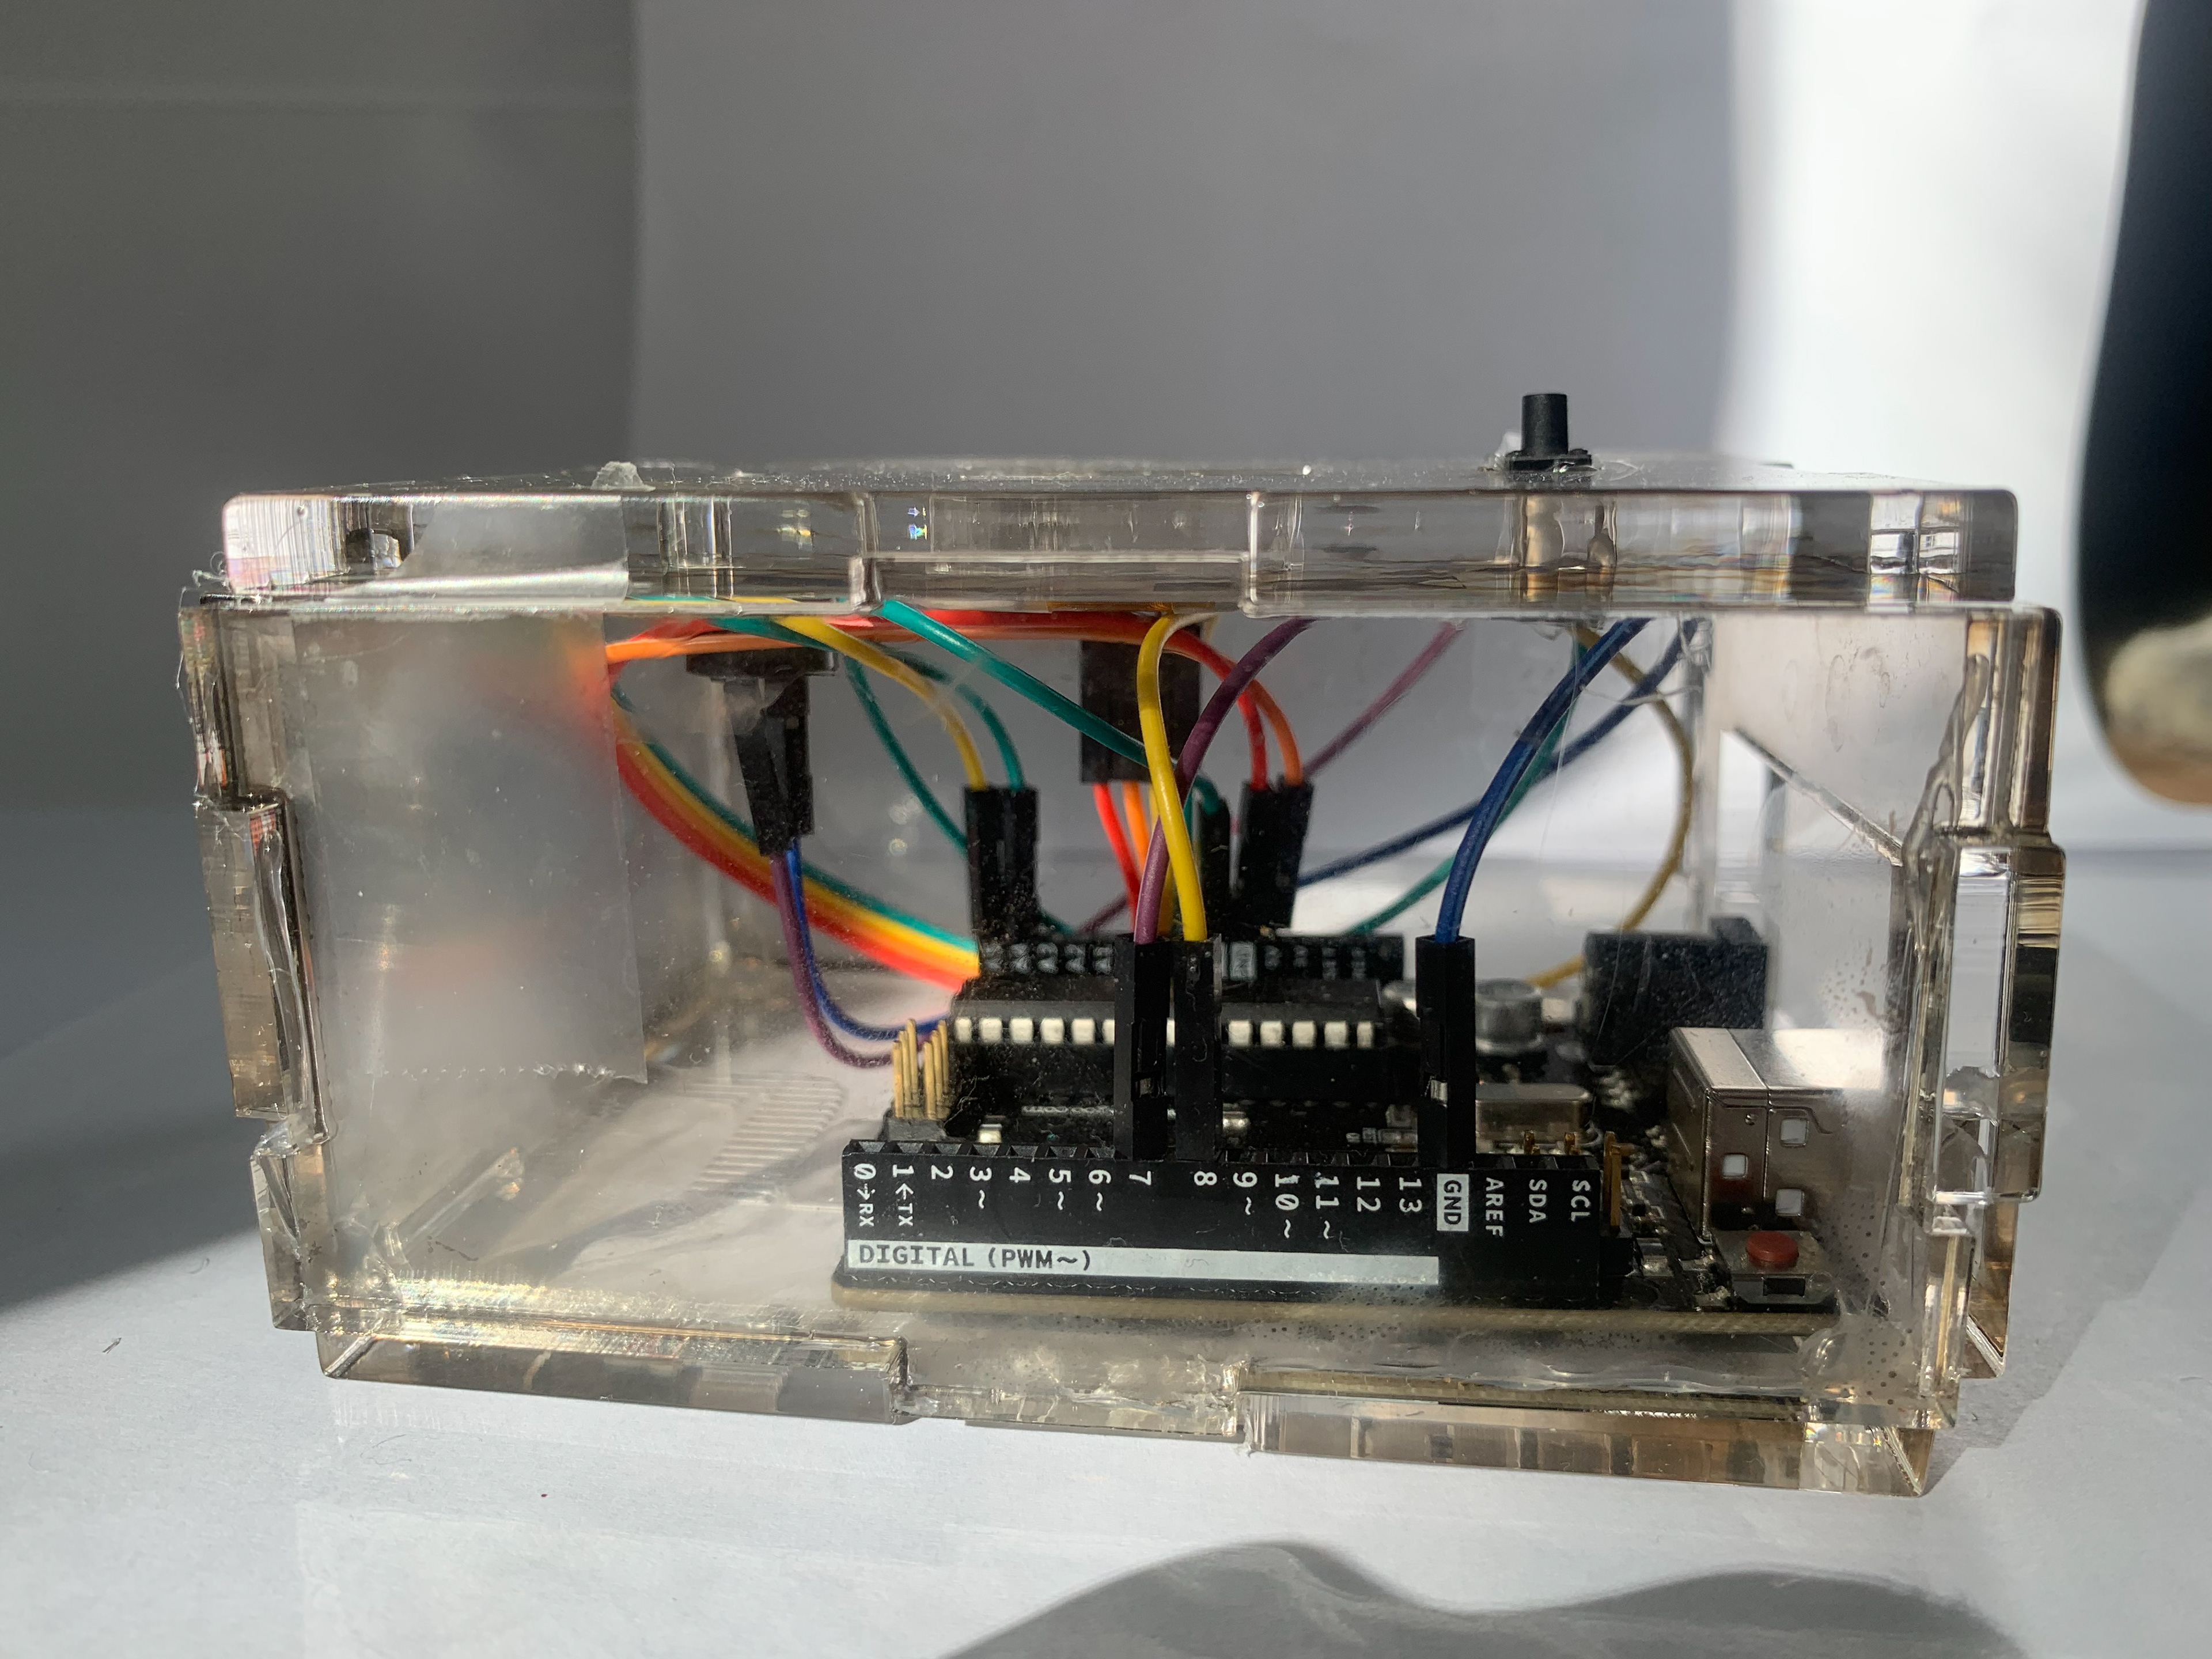
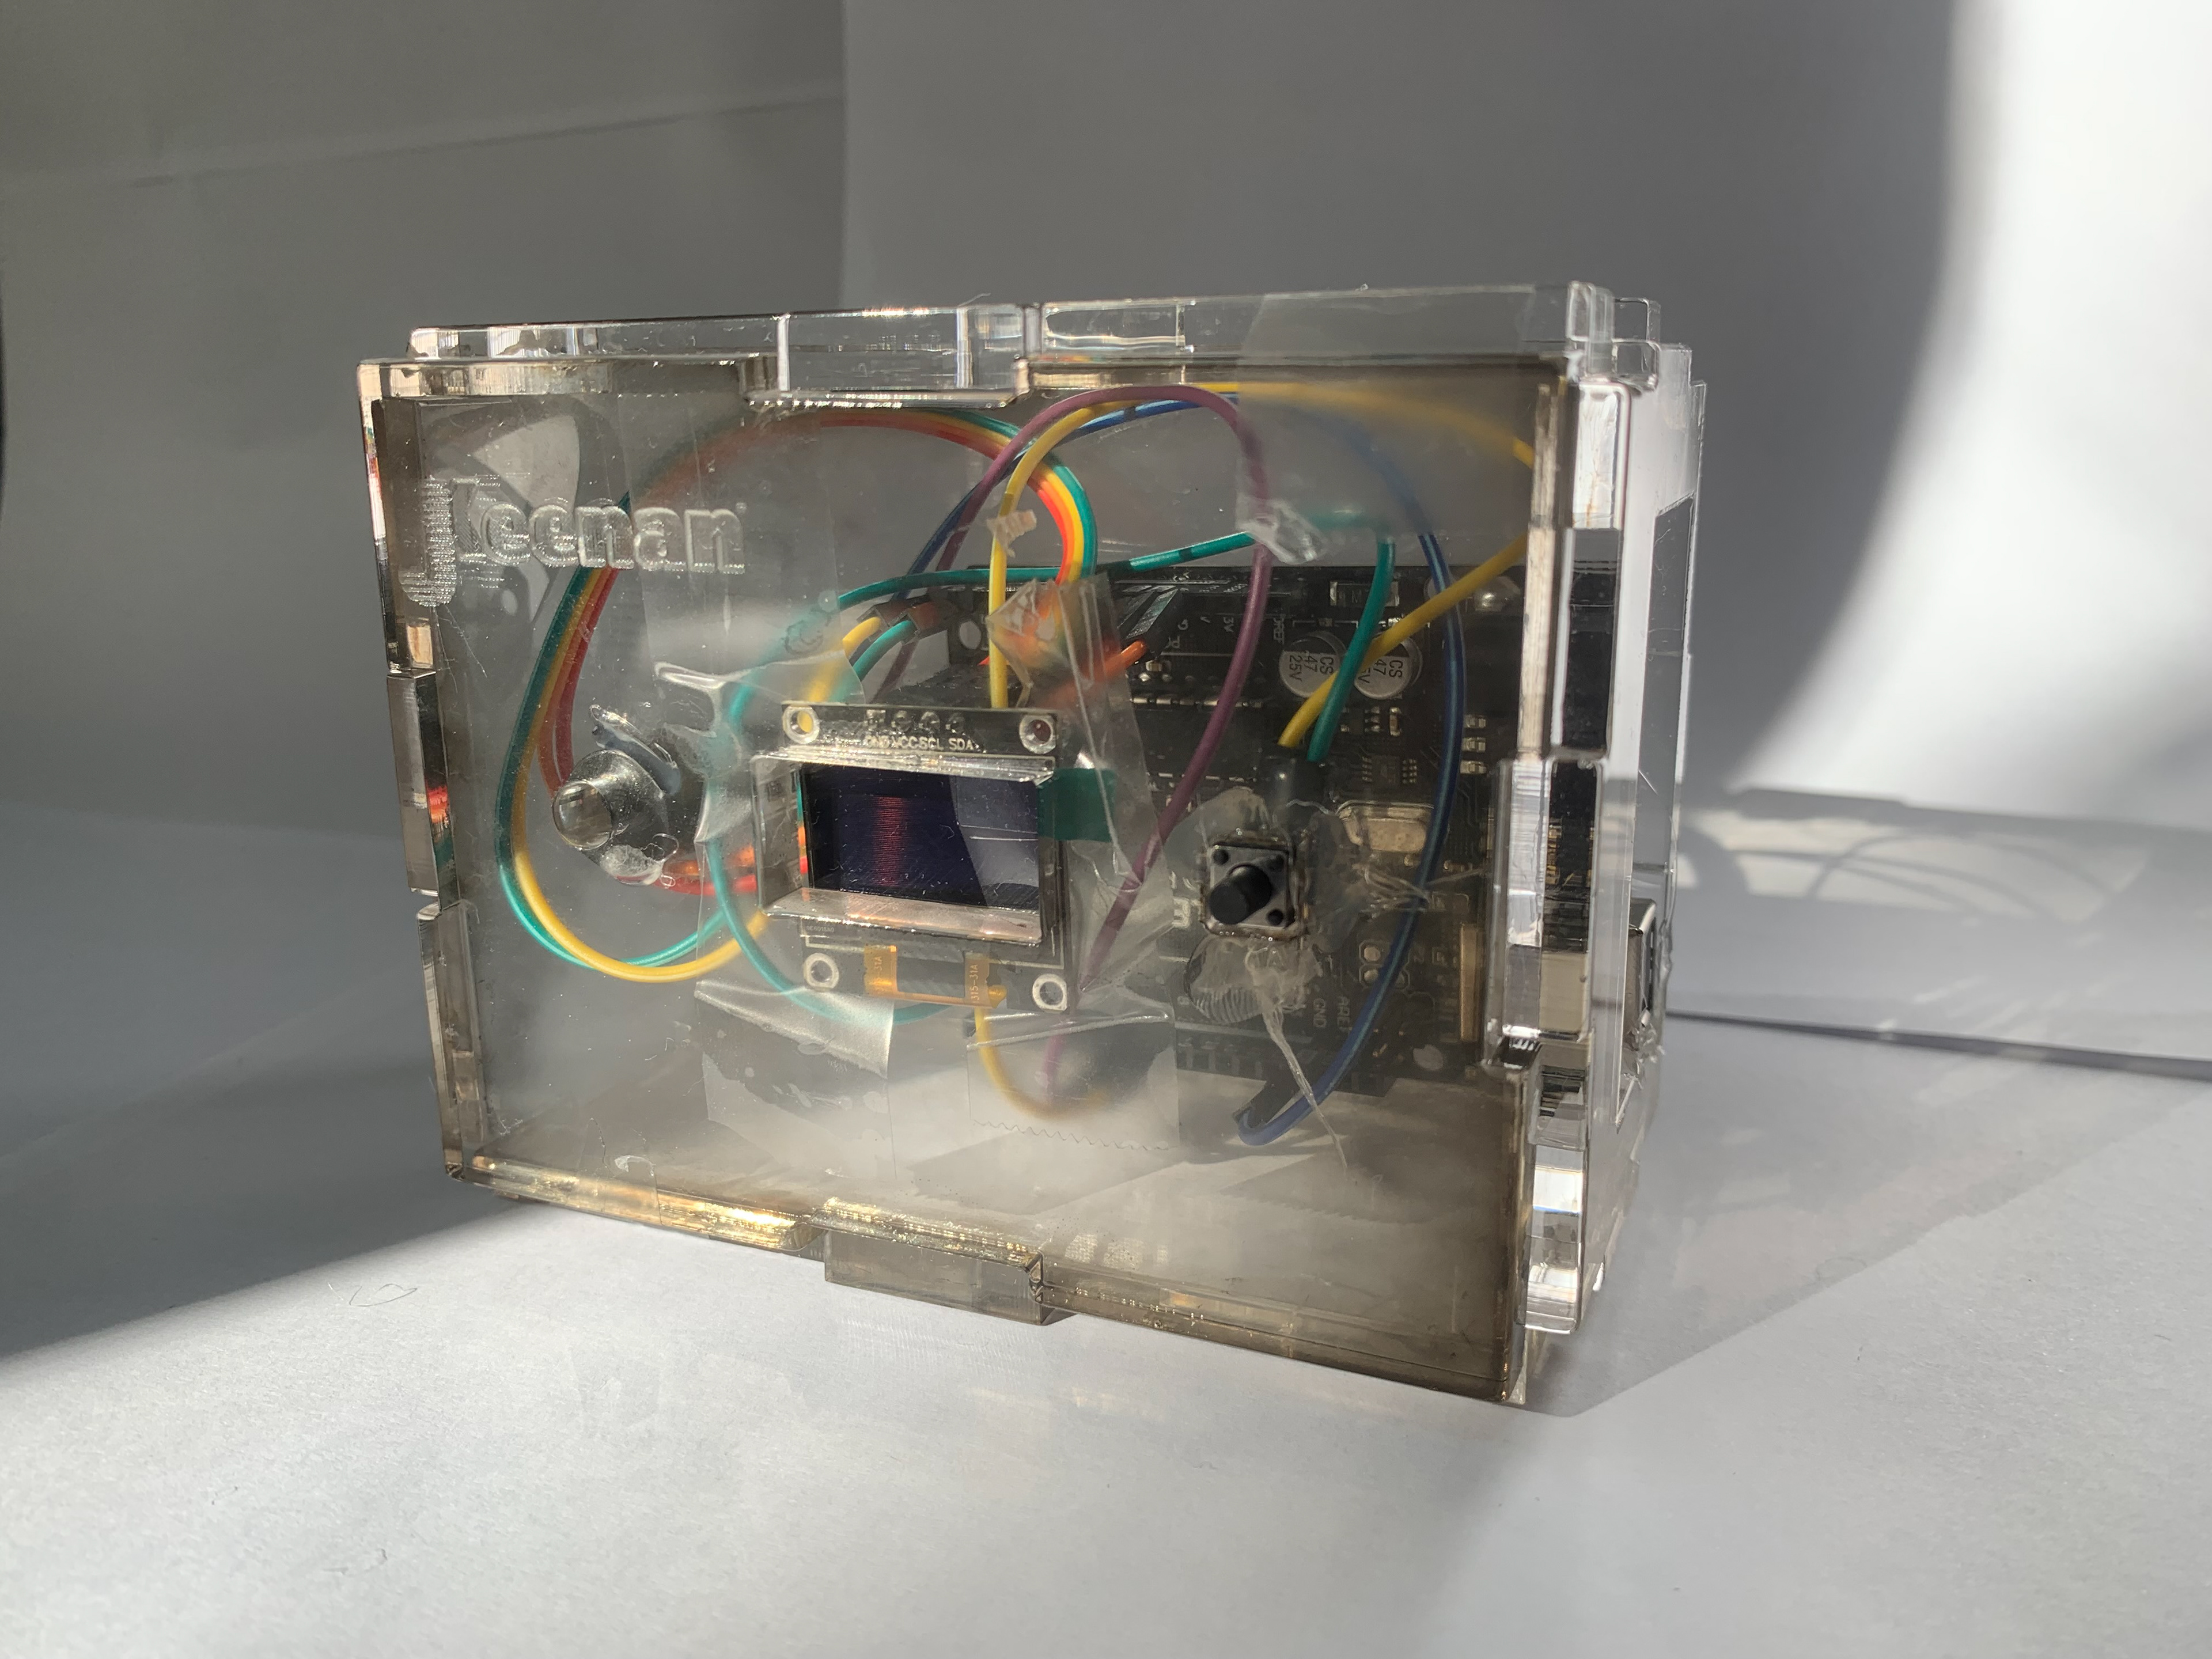
Side
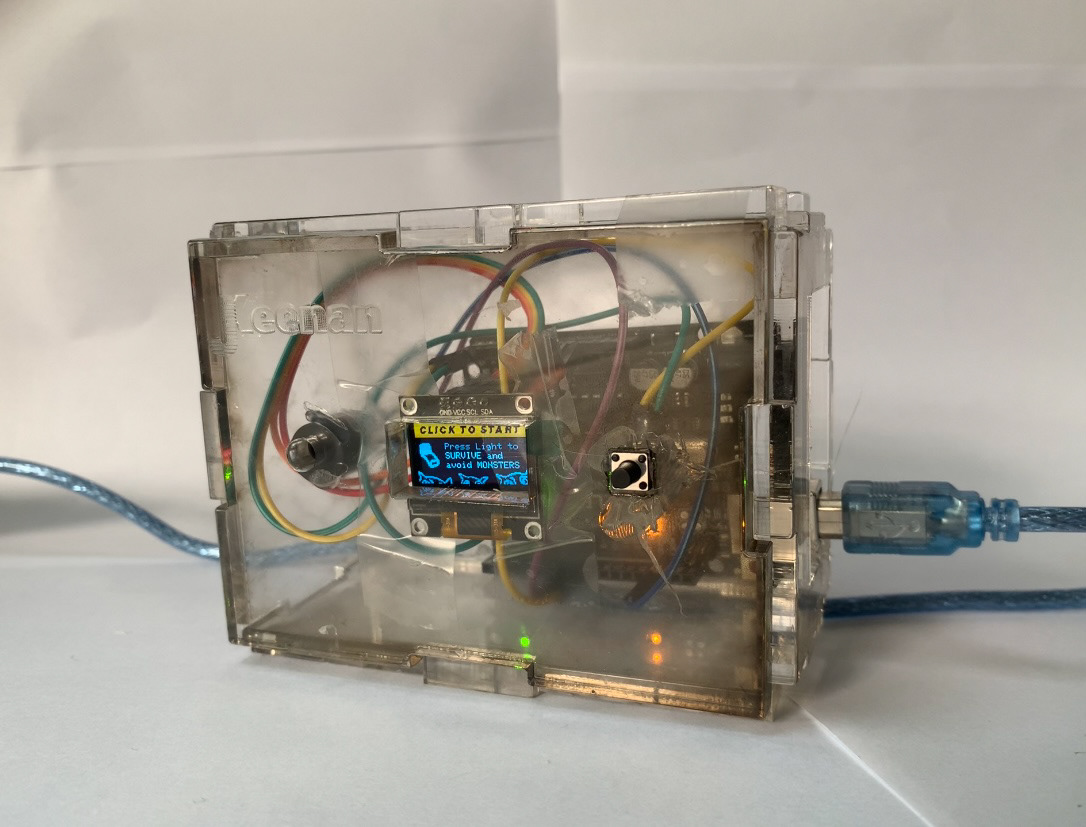
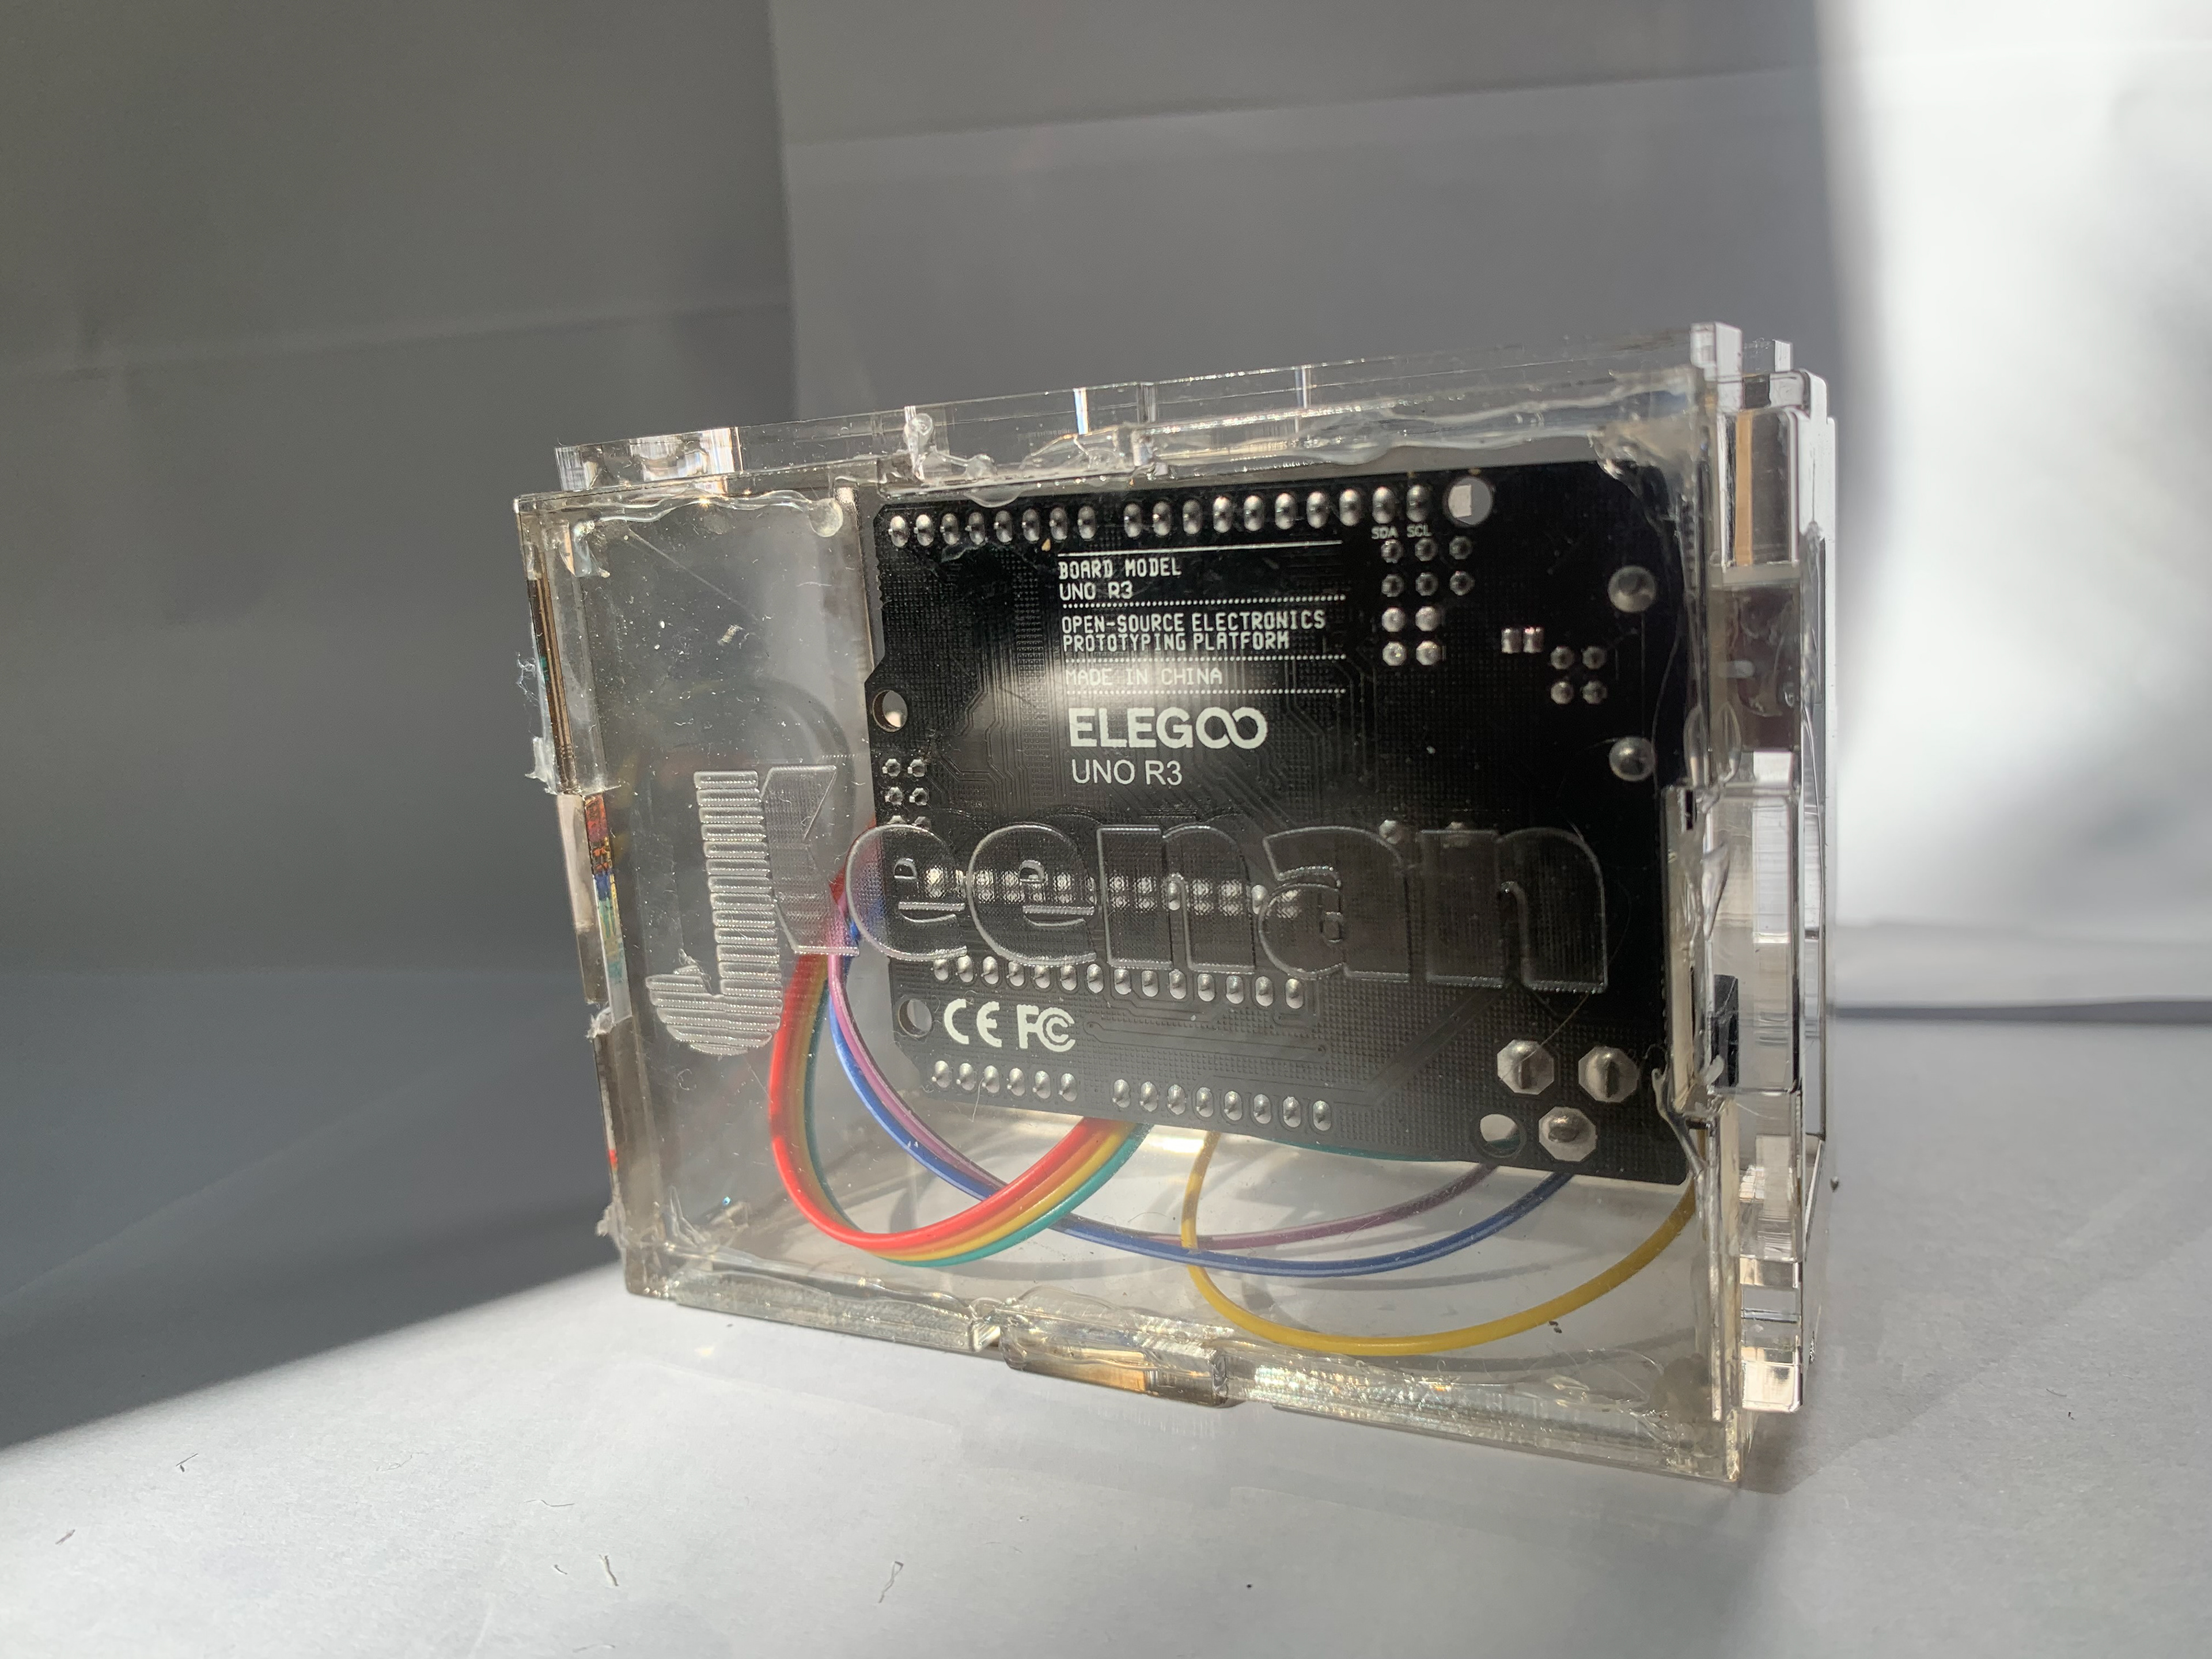
Power On
Overview
For this project, I made a game using a Arduino computer chip with a LCD screen add-on. The game is simple reaction based game where players have to click on the light-switch and not the monsters in order to proceed to the next level. The challenge becomes as the intervals of flashes become shorter, and the light-switches to monsters ratio becomes more and more lopsided. Getting to the ending win screen is a difficult but enjoyable challenge. Additionally for this project, I learned how to use a laser cutter and designed a box case using a clear acrylic to house all the electronics.

Schematics of the wiring and the components
Materials
Speaker
Button
Arduino Uno Board
LCD 128 x 64 screen
8 wires
A box or case of some sort (clear acrylic ¼ inch)
Button
Arduino Uno Board
LCD 128 x 64 screen
8 wires
A box or case of some sort (clear acrylic ¼ inch)
A demo of the P5 Javascript game.
Inspiration
I decided to " port" a Javascript P5 game of my own creation to the Arduino. The game is a simple point and click with a twist. The mouse is a flashlight, and it dims as you progress. You have to find and click the light-switch before the light goes out. But new monsters will spawn every additional night and add visual clutter to your frantic task. It's this tension combined with the simple gameplay loop that makes this game fun on a ludological level.
The main source of interaction is just the user's mouse, but that won't be possible to with the Arduino chip. I have to make the new game interesting and fun with just 1 click of the button. That's the main design challenge I faced with this project.
A video of the gameplay loop.
Gameplay and Mechanics
I overcame this technical hurdle by rethinking of the "flashlight" component. As the player couldn't move anymore, I thought that it should flash the options. Like a version of "red-light green-light", I could could mechanically replicate the "mad dash" feeling with a furious click when the proverbial greenlight was on the screen. It also works on a extremely well on a thematic level, as it retains that sense of dread and darkness through this flickering of the light. The external click of the physical button also works well as a diegetic piece of the experience, as you literally hear the switch flipping.
Funnily enough, the code was quite similar to my p5 web game project. I used the technique of making a variable “mode” that would cycle different screens in the main loop. Mode 1 is the start/logo screen where I flash my logo, it automatically adds 1 to mode after 2 seconds. Mode 2 is the tutorial screen, where it shows you how to play the game. Pressing the button takes you to mode 3, the main gameplay loop. There it randomly selects a variable “pop” to pop up different screens, a monster or a lightswitch, else it’s just the blank screen. Clicking on switch takes you to Mode 4, the “cleared” screen where you click to subtract 1 from mode but 1 to score. Get 9 in score, and you arrive at Mode 6, the win screen, which then resets the game. Click on the monster however takes you to mode 5, which is the gameover screen. That will reset the game as well. There are no dead ends, the only way to stop the main loop is to turn off the system.
In terms of audio design, a lot changed. The speaker that I was provided was very limited in it's capabilities, only being able to play certain frequencies with a ear grating quality. It took some of digging online to find a code library where someone matched the frequencies with musical notes in order to play music. I changed the main music box lullaby to the Toreador's March, as the song I used originally was too obscure and had no music sheets online. I additionally hand engineered the other sound effects, with the gameover being my most prized soundeffect. It was just subtracting 2000 (hrtz) by the framerate times a random variable, and it sounds jarring in a satisfying sad type of way. Ultimately the speaker adds a certain je ne sais quoi to the atmosphere of the game, it was very much worth the extra effort.
I've also made a digital archive build here:

Win Screen (Mode 6)

Game Over Screen (Mode 5)

Flash of the Lightswitch (Mode 3, Pop 2)

Flash of the Monster (Mode 3, Pop 1)

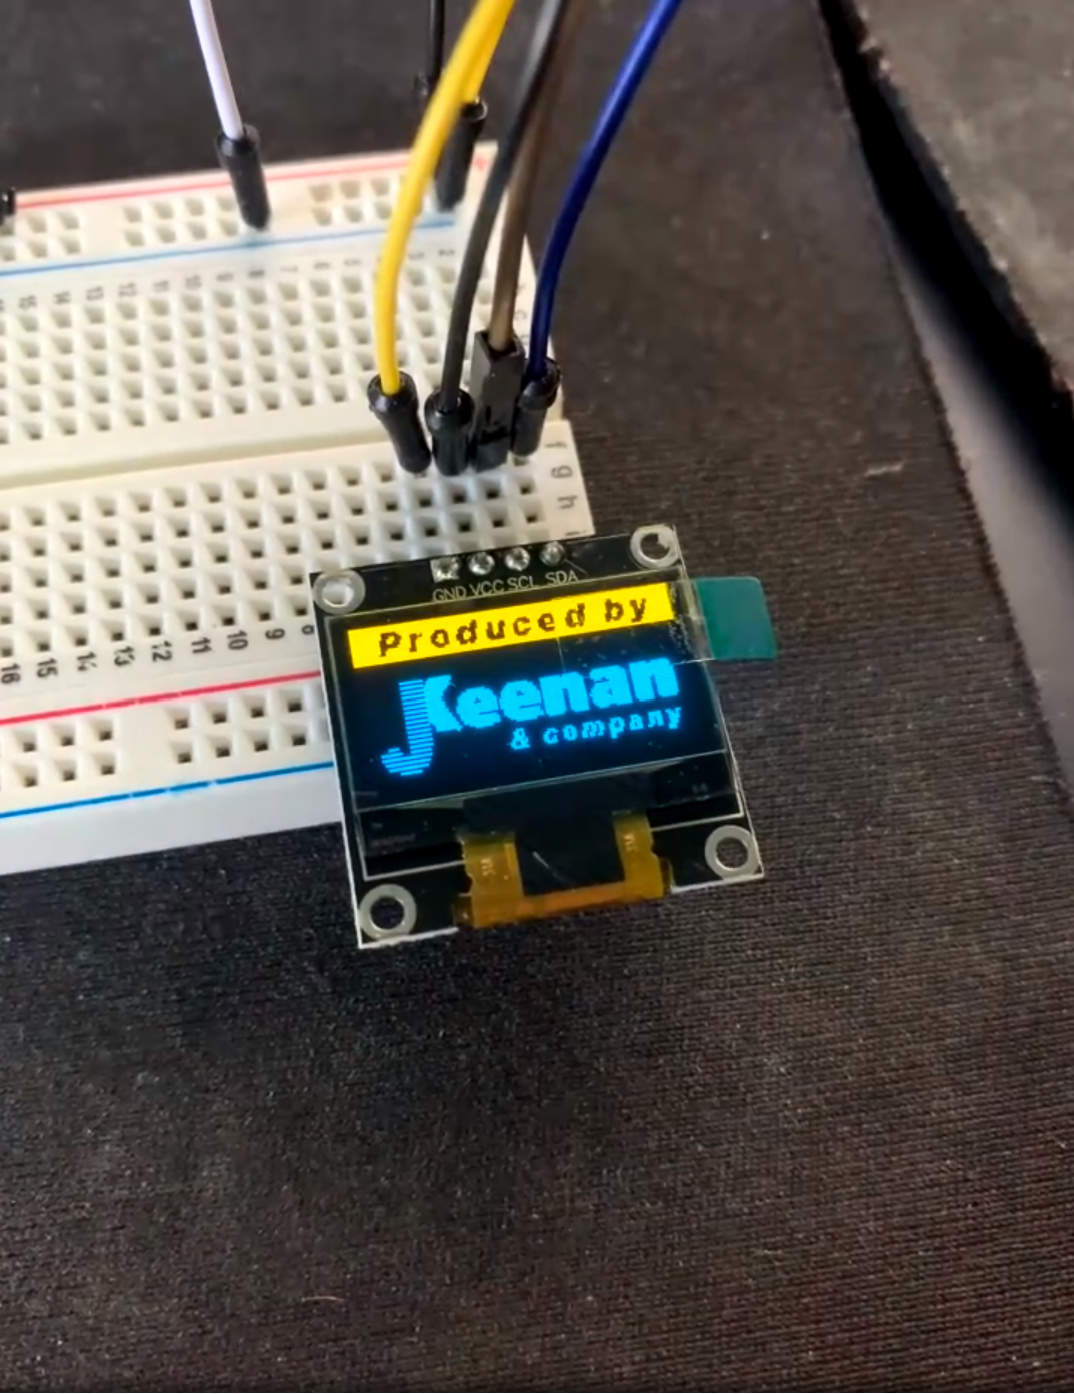
Logo Title Screen (Mode 1)

Survived Screen (Mode 4)
Graphics
The bit map screens I developed in 128 x 64 pixels. Starting life as photoshop files, I converted them into bitmaps and exported them into a LCD code converter. There were a few elements that were composed "in engine" such as the night counter, as that had a variable that needed to change. The Mode 2 tutorial screen is also mainly done in game as well due it's high volume of text and ease of implementation "in-game".
Additionally, a interesting quirk of the LCD screens I bought was that 2 colors. The top quarter was yellow, and the bottom 96 pixels were blue. That's why I designed a "yellow banner" as a core part of the UI, and why circle flashes are centered to the "blue area".
Also to consider was the Arduino's small memory space, so a core part of my design was reducing the number of screens to the lowest amount possible. But the lower pixel count I think added towards my aesthetic of "creepypasta children’s horror”. It really feels like a little cursed video game console with the distorted and misshapen monster sprites and chunky graphics.
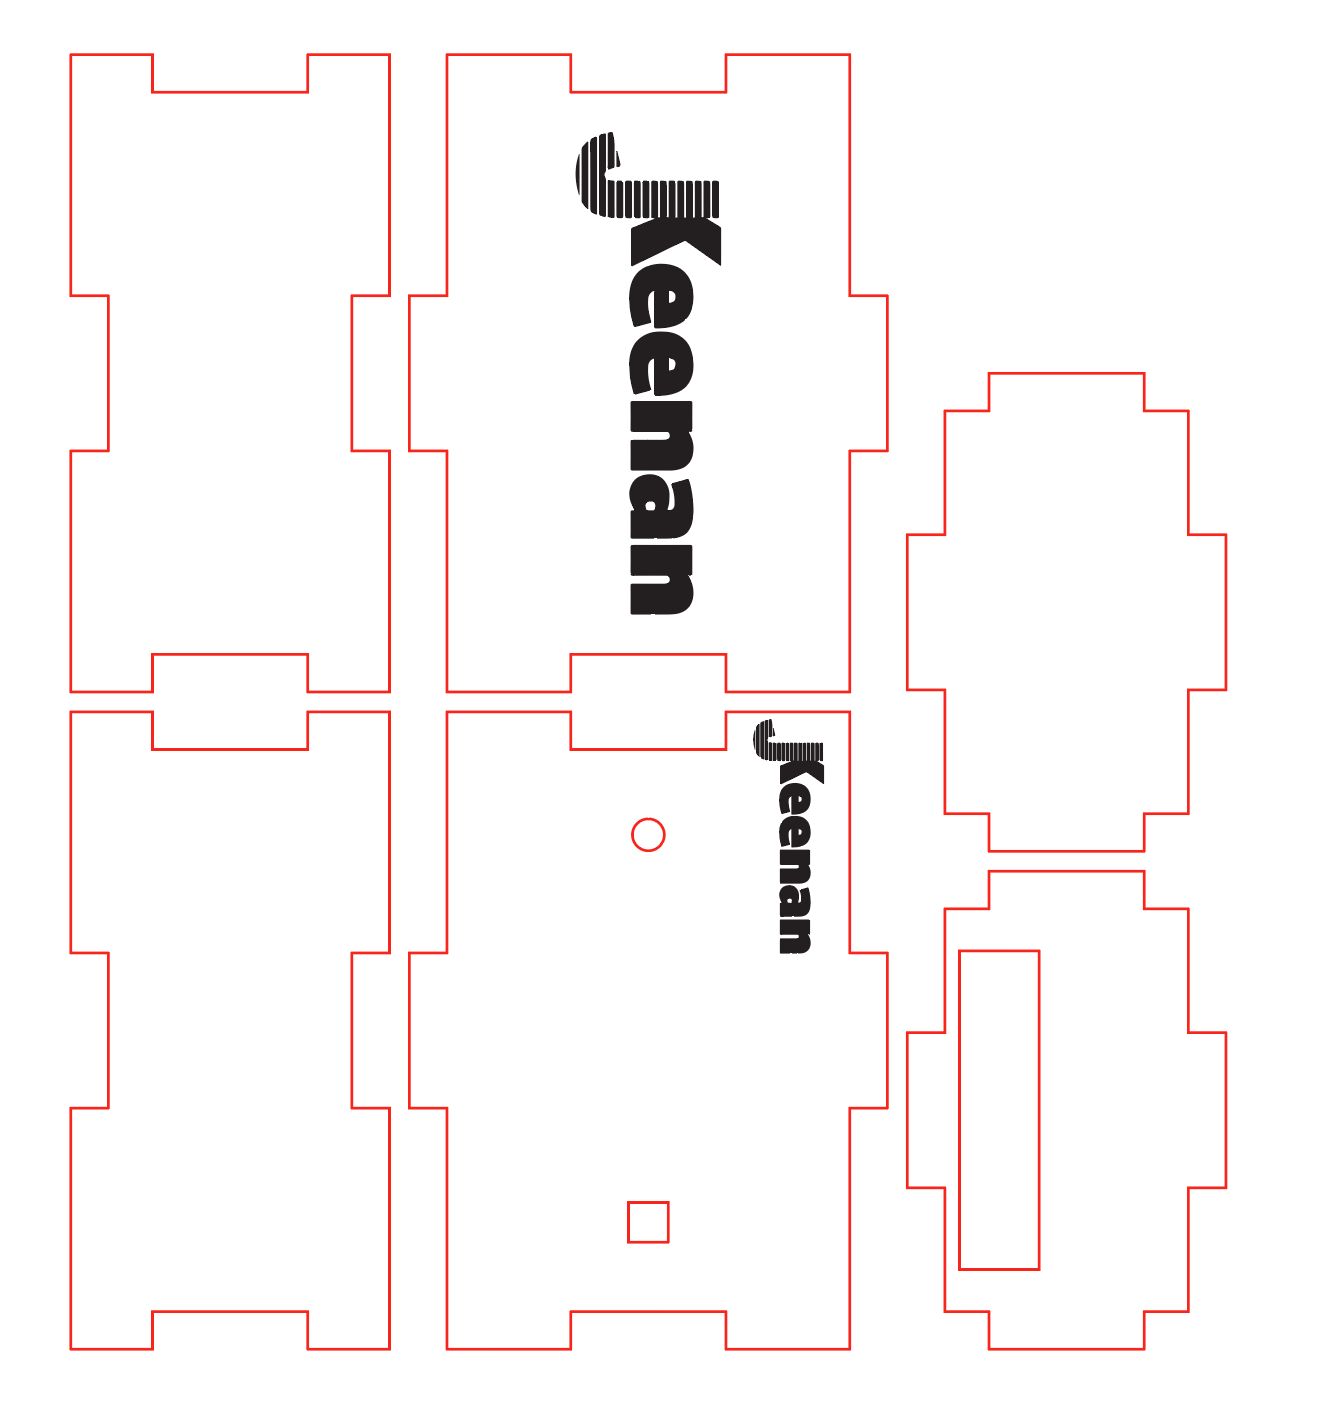
The .ai file of the case
Assembly
I have recently learned how to use the laser-cutter in the "innovation hive" lab at USFca. I wanted to create a old school type of console with see through plastic, like back in the 90's with video game consoles like the Gameboy, N64, and Tamagotchis. SO I used a clear hard cast acrylic for my casing.
In terms of designing the box, I went with a finger slot design as that would be easier to hot-glue together when assembling. This was done by using a template on https://en.makercase.com/#/basicbox with some small modifications. I added a 1/4' x 1/4'' square hole for the button, a 1/5'' hole for the speaker, a 1' x 2' hole for the Arduino, and some raster engravings of my logo on the front and back.
Due to the nature of the laser-cutter's being a hot laser and all, it slightly singed and stained the edges of my pieces. A small price to pay to be able to see the wiring. Also during the cut of the final version the design, the laser-cutter broke down. That's why the hole for the Arduino plug is so big, because as I had to use the prototype test build for the final assembly. C'est la vie.
Additional Images of the Process
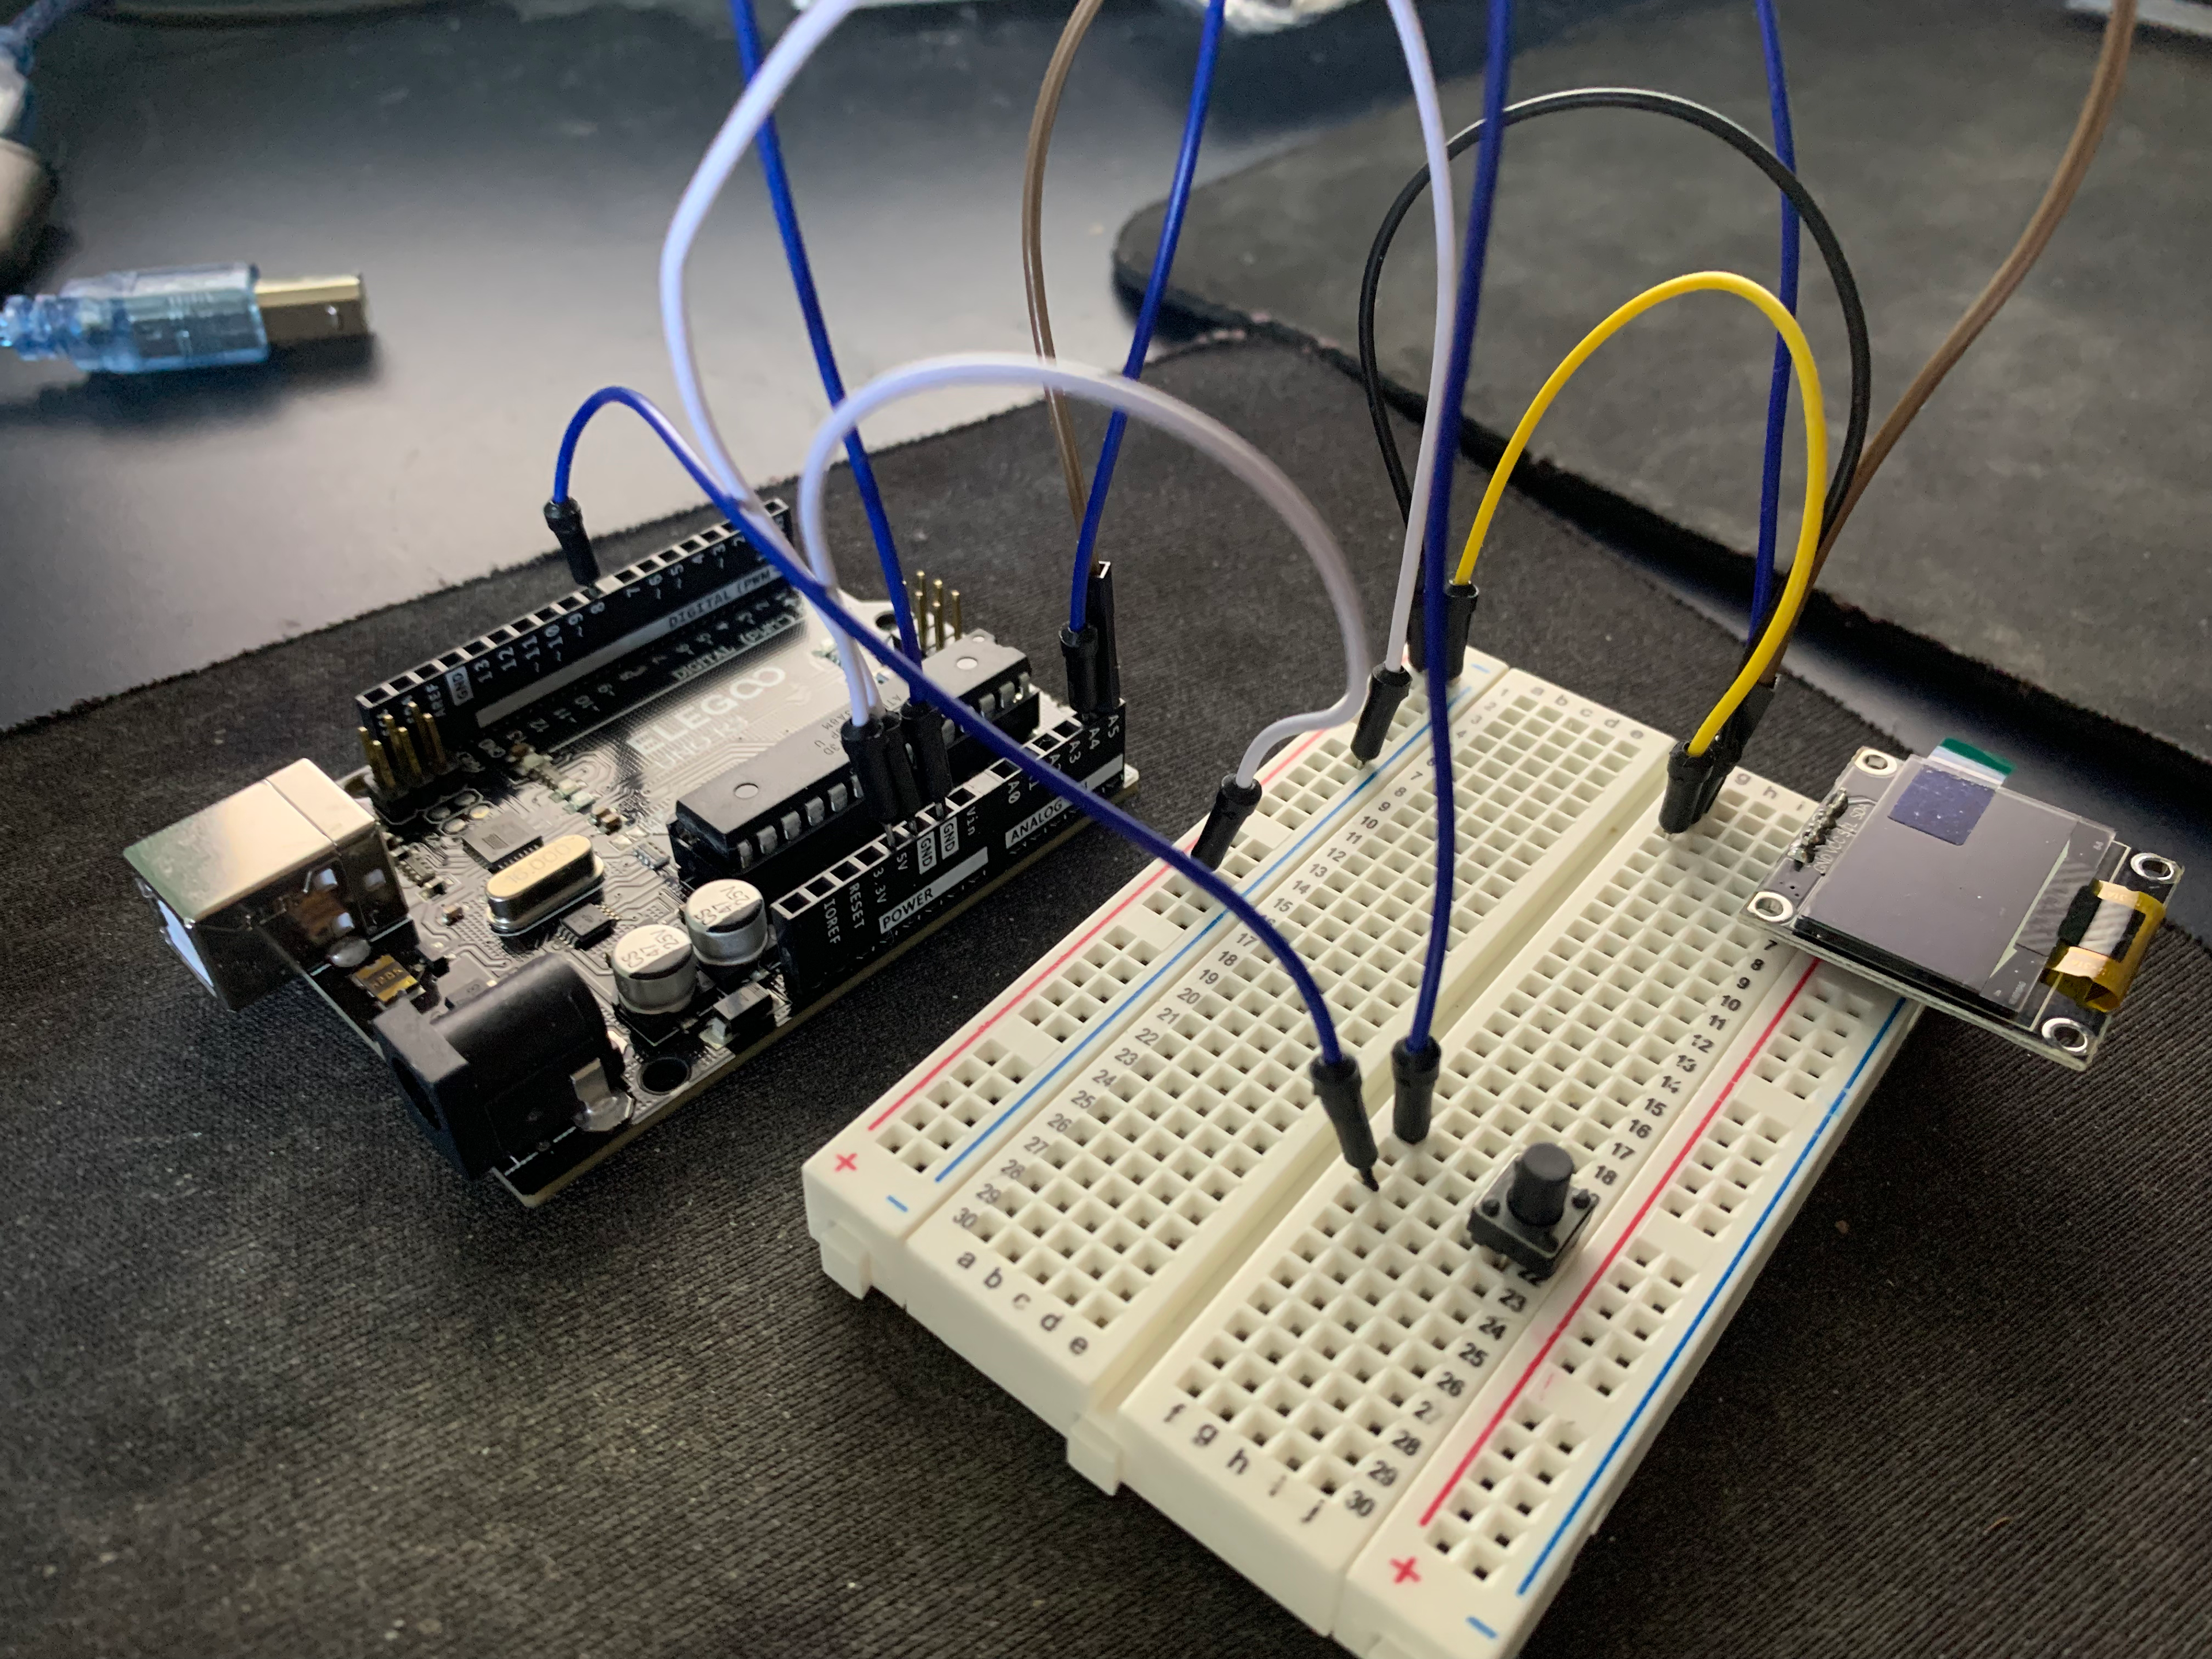
The breadboard set up of the Arduino
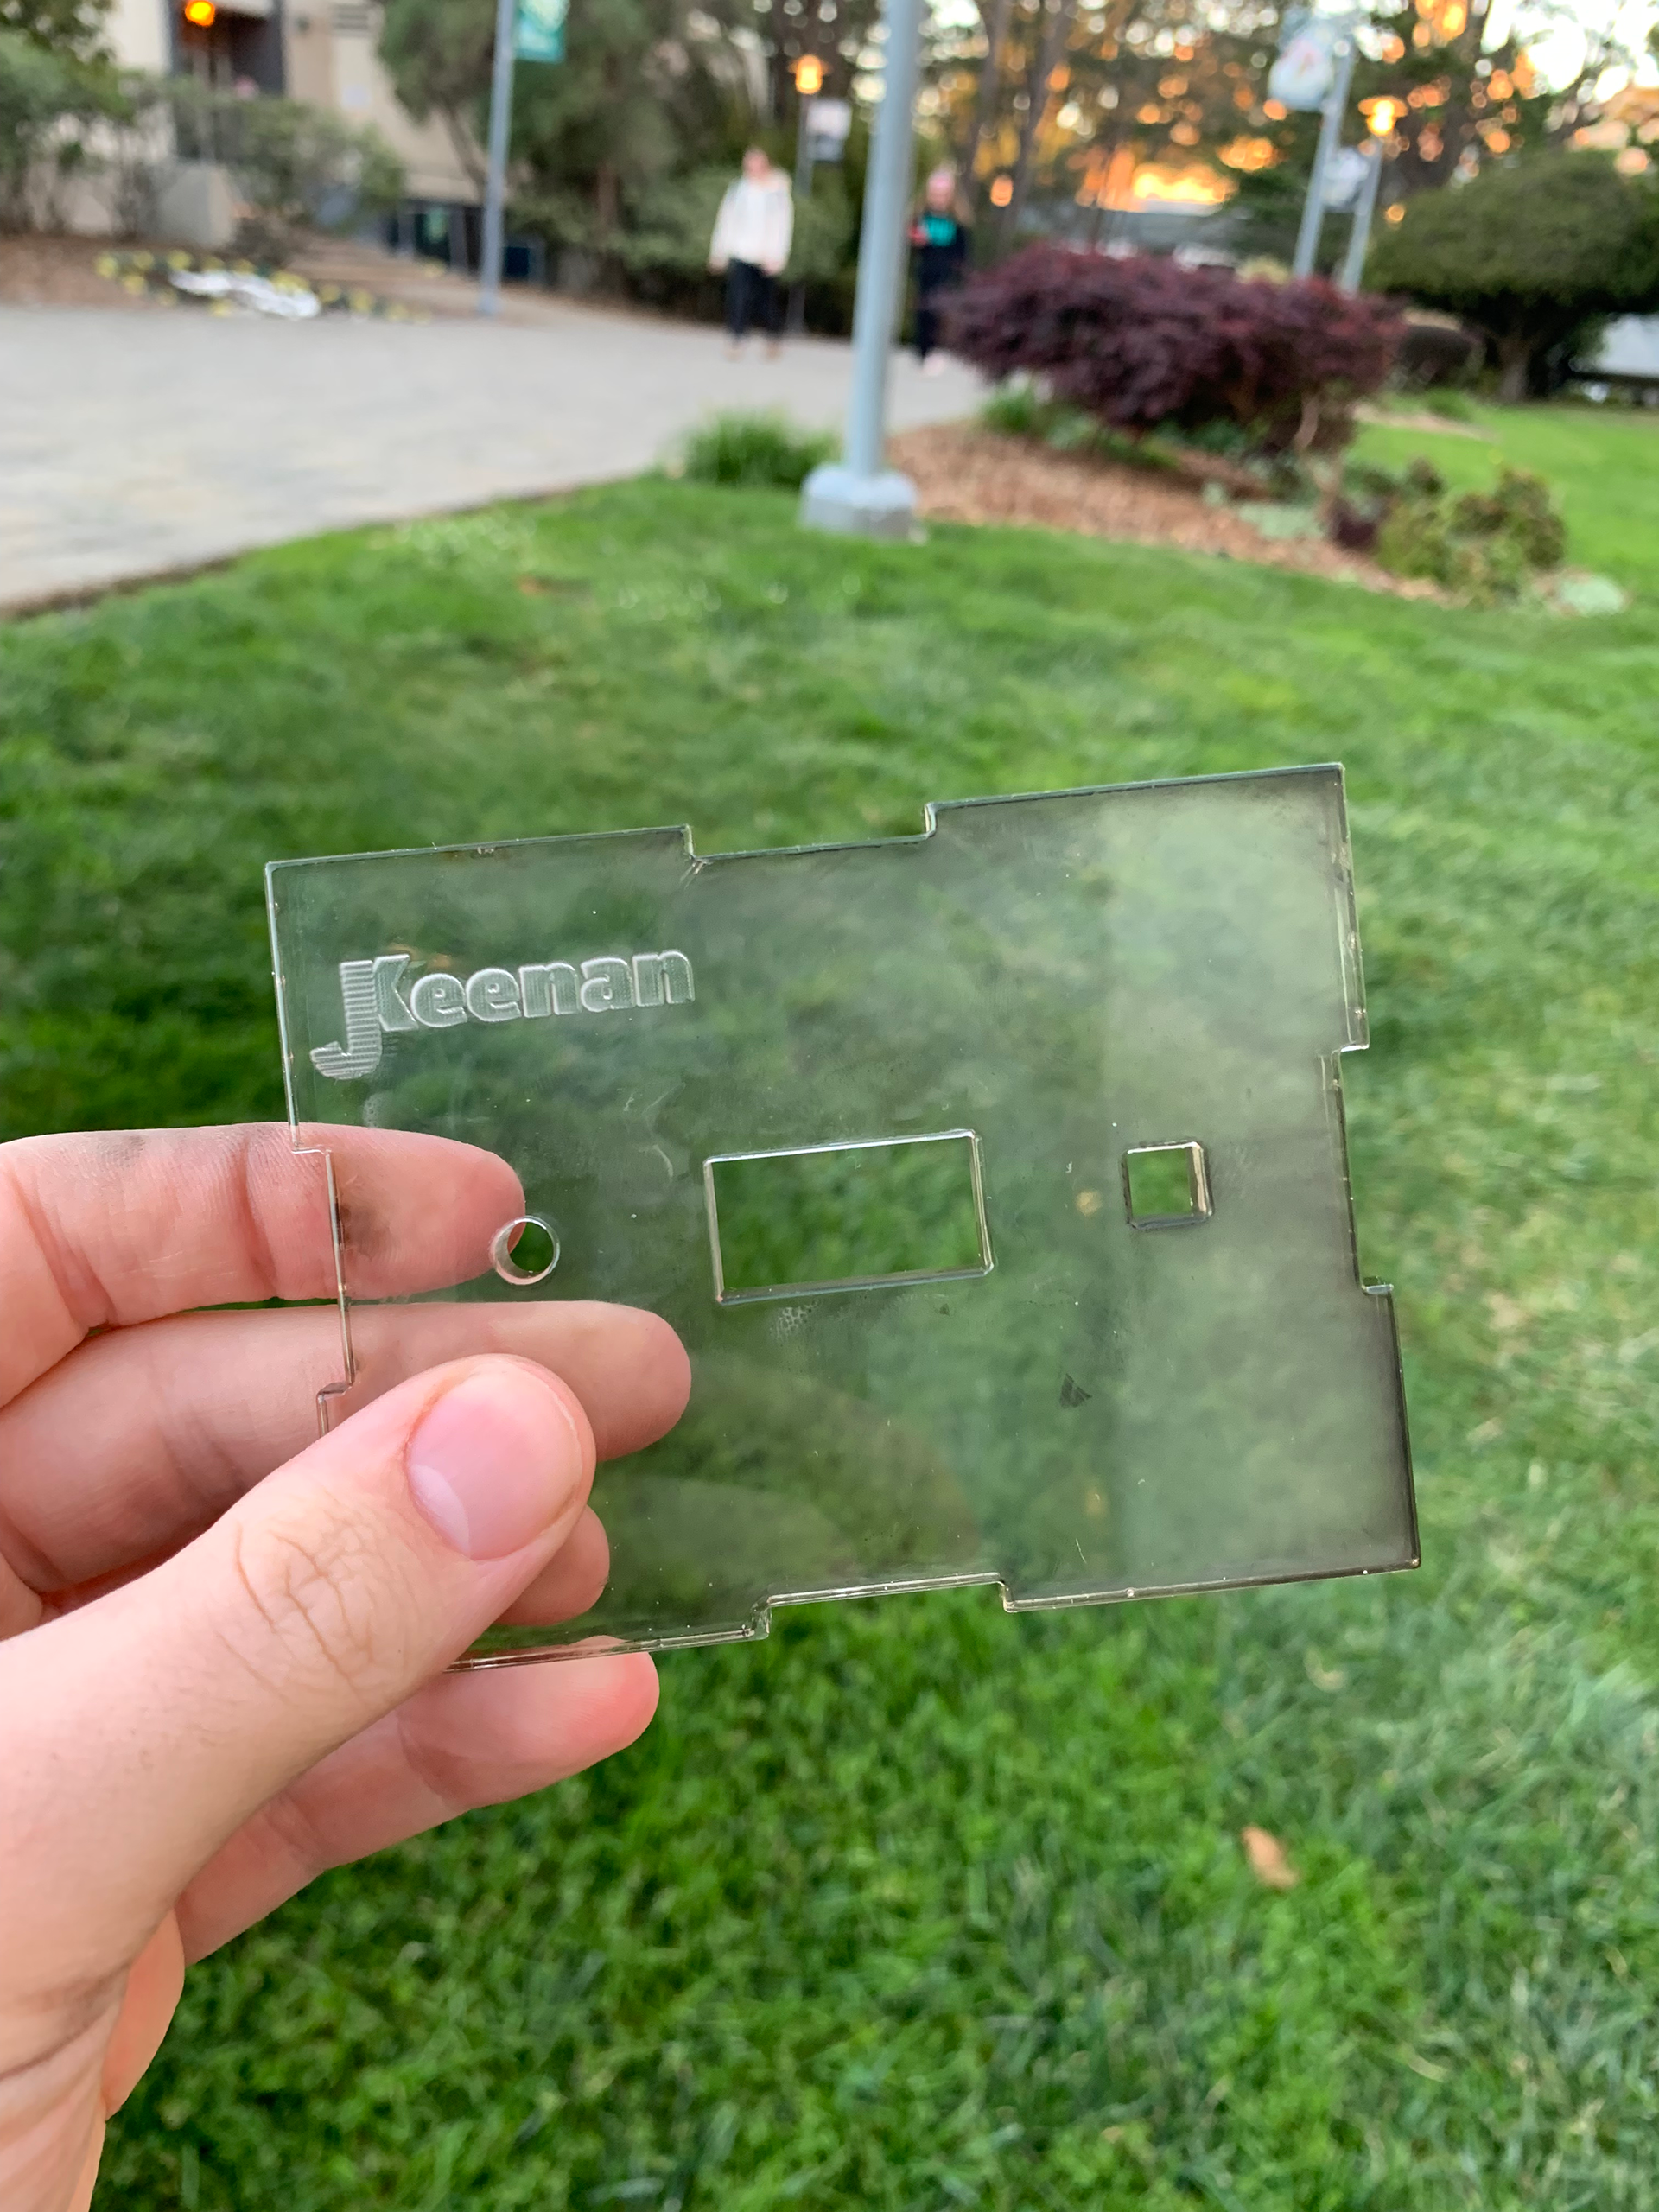
The frontplate of the acrylic case
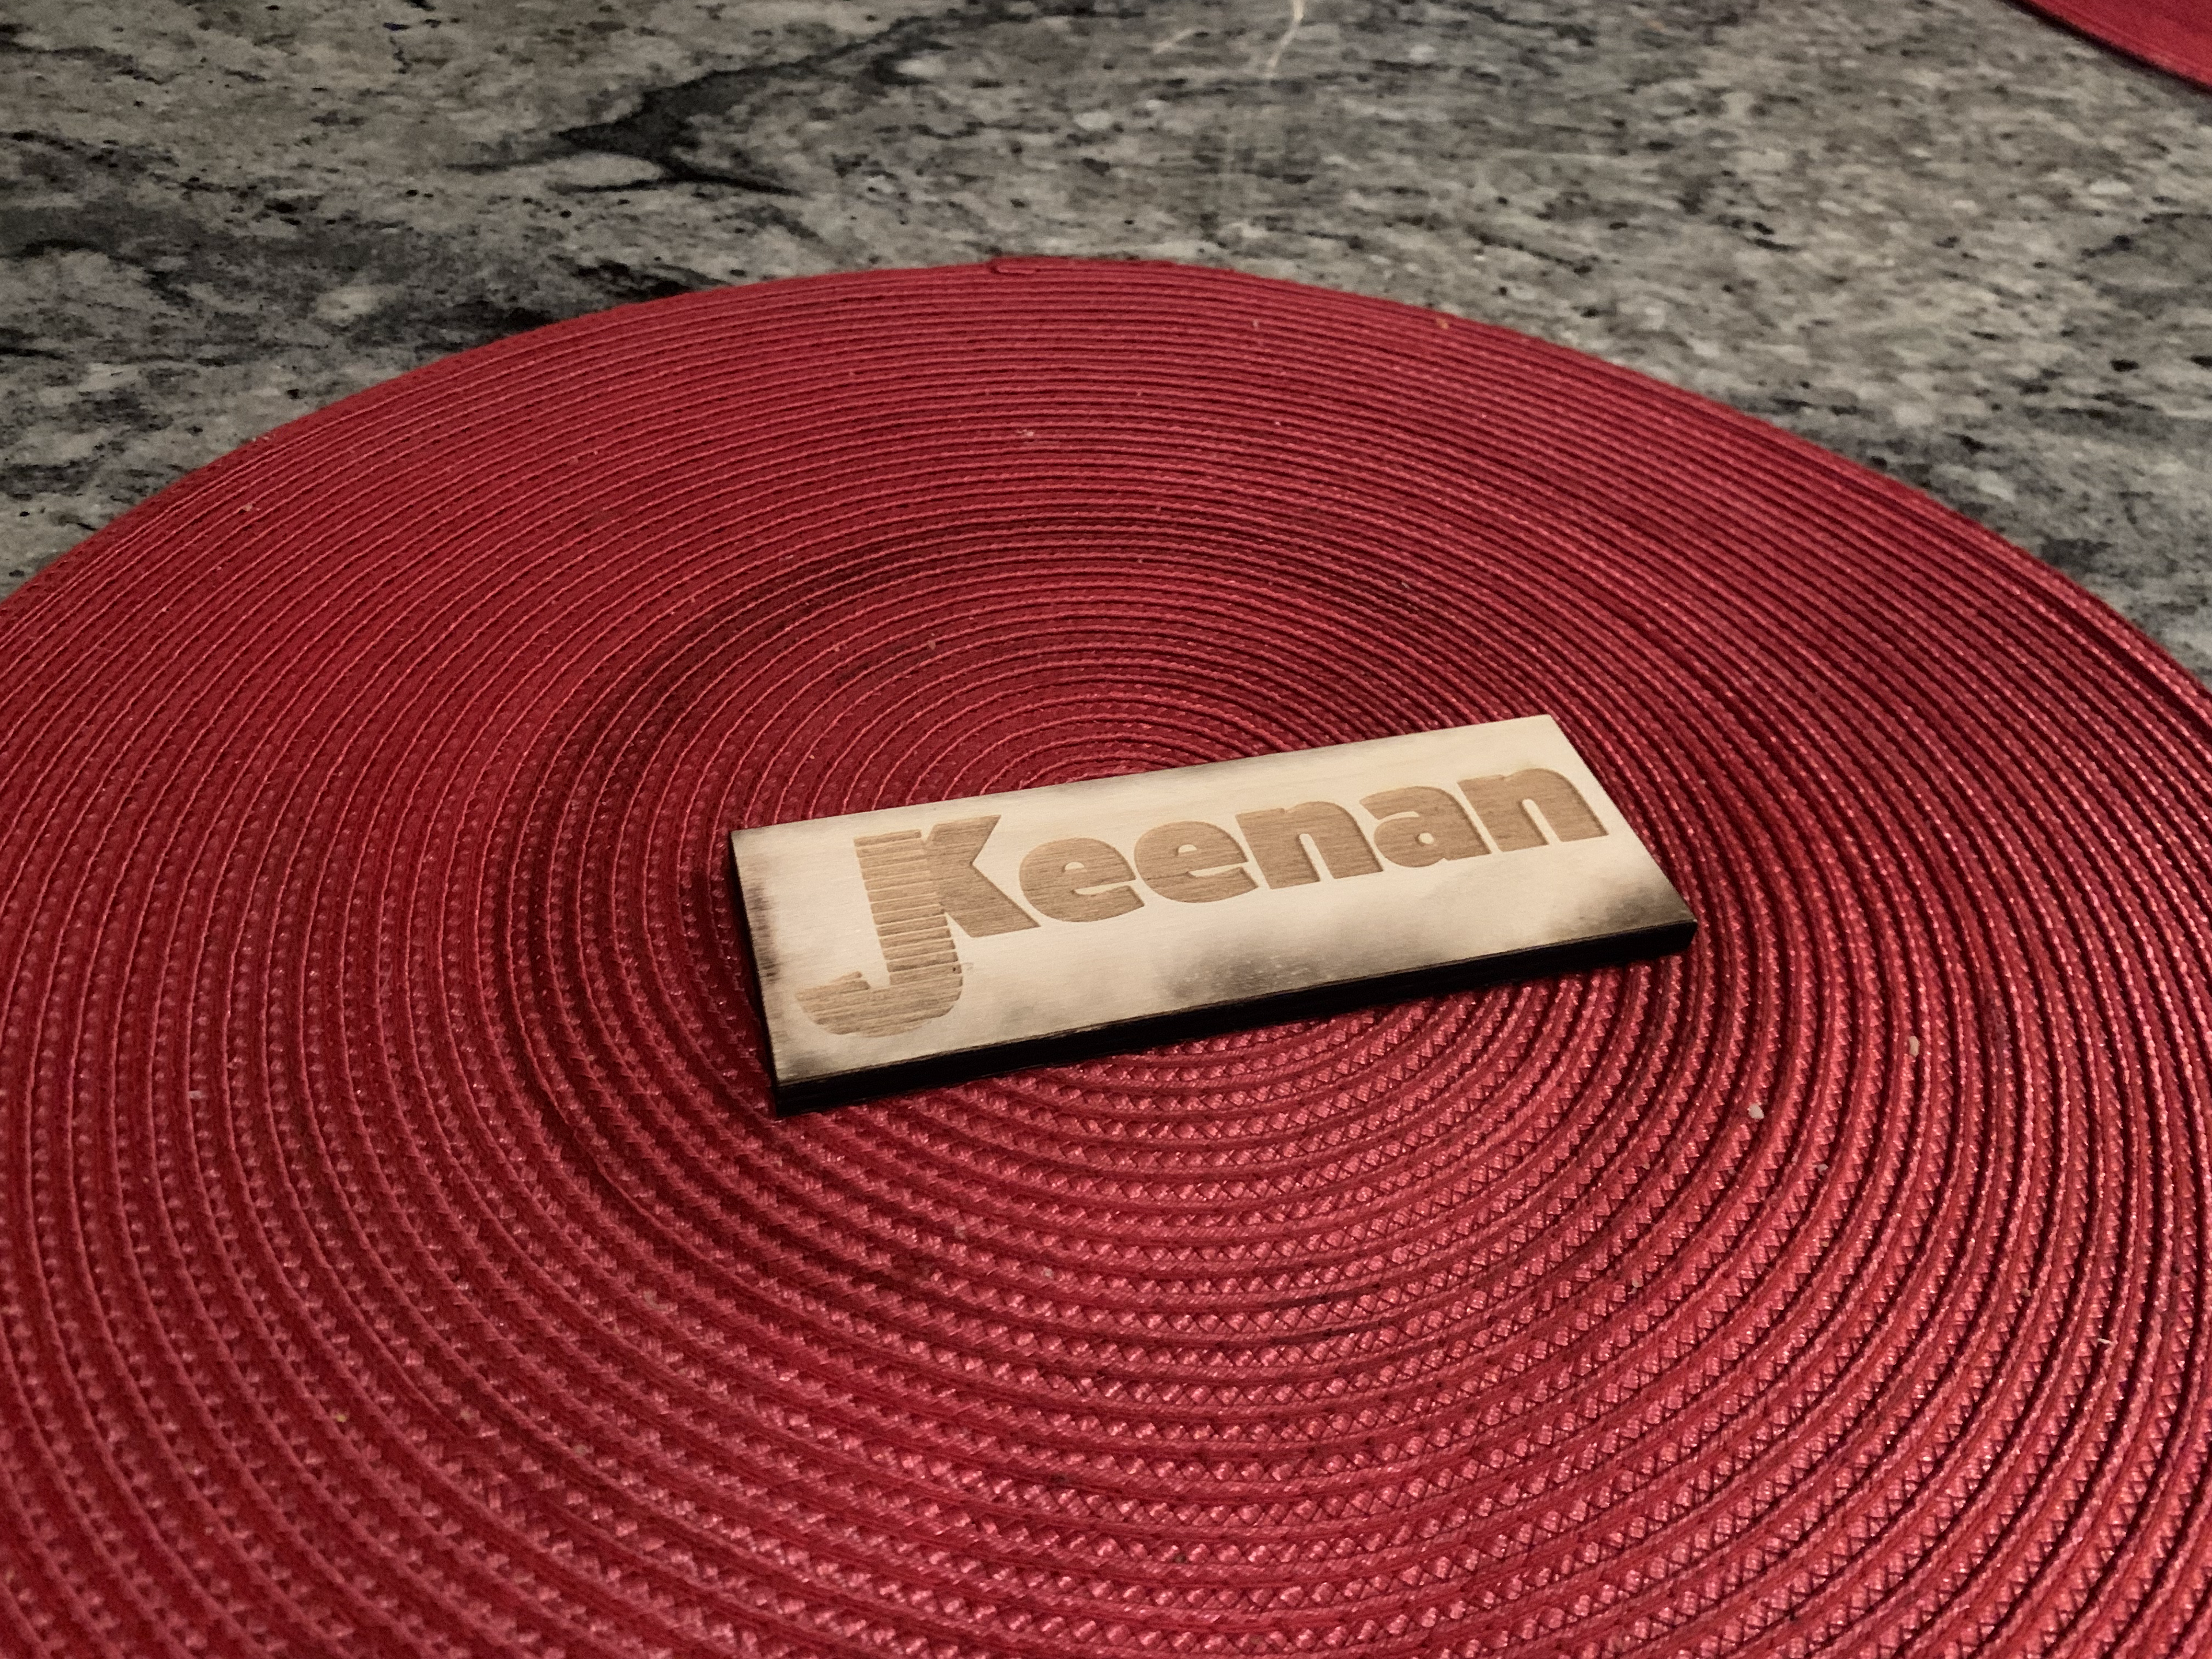
The laser-cutter's first test piece
Mode 1 Logo
The laser-cutter in action
My set up for coding, with Ghibli Lo-fi included